Hi, are you getting ready to sell your house? If so, you’ll find some invaluable tips here for giving it a good spit shine! This post will focus more on the where and what rather than the how–I feel another post coming on for “cleaning tips & tricks”.
If you haven’t read and/or taken the steps in my previous post “Five Things To Do Before Listing Your House“, please go back and read it and do the steps in that post before tackling your cleaning.
In the above-mentioned post I alluded to some of the sights (oh, let me just call it what it was–filth!) we saw on our house hunting expeditions. They are burned into my memory and some of them are from our most recent house hunt over the past couple years, but some are from 21 years ago! Are you grasping the importance of cleaning your house before allowing strangers to traipse through?
Story time: We toured one home and the couple had done a good job removing personal identifiers. It was a large, newer home and on the surface looked pretty clean. However, when we got to the master bathroom the floor was covered in dark hair. There was so much of it we all assumed it must have been dog hair. Imagine our surprise (and disgust) when upon our realtor’s suggestion they “clean up the dog hair in the bathroom” we learned they didn’t even own a dog! No way. If that’s the filth we saw, we had to wonder what else we weren’t seeing.
Anyway, now that I have made my point, where do you begin?
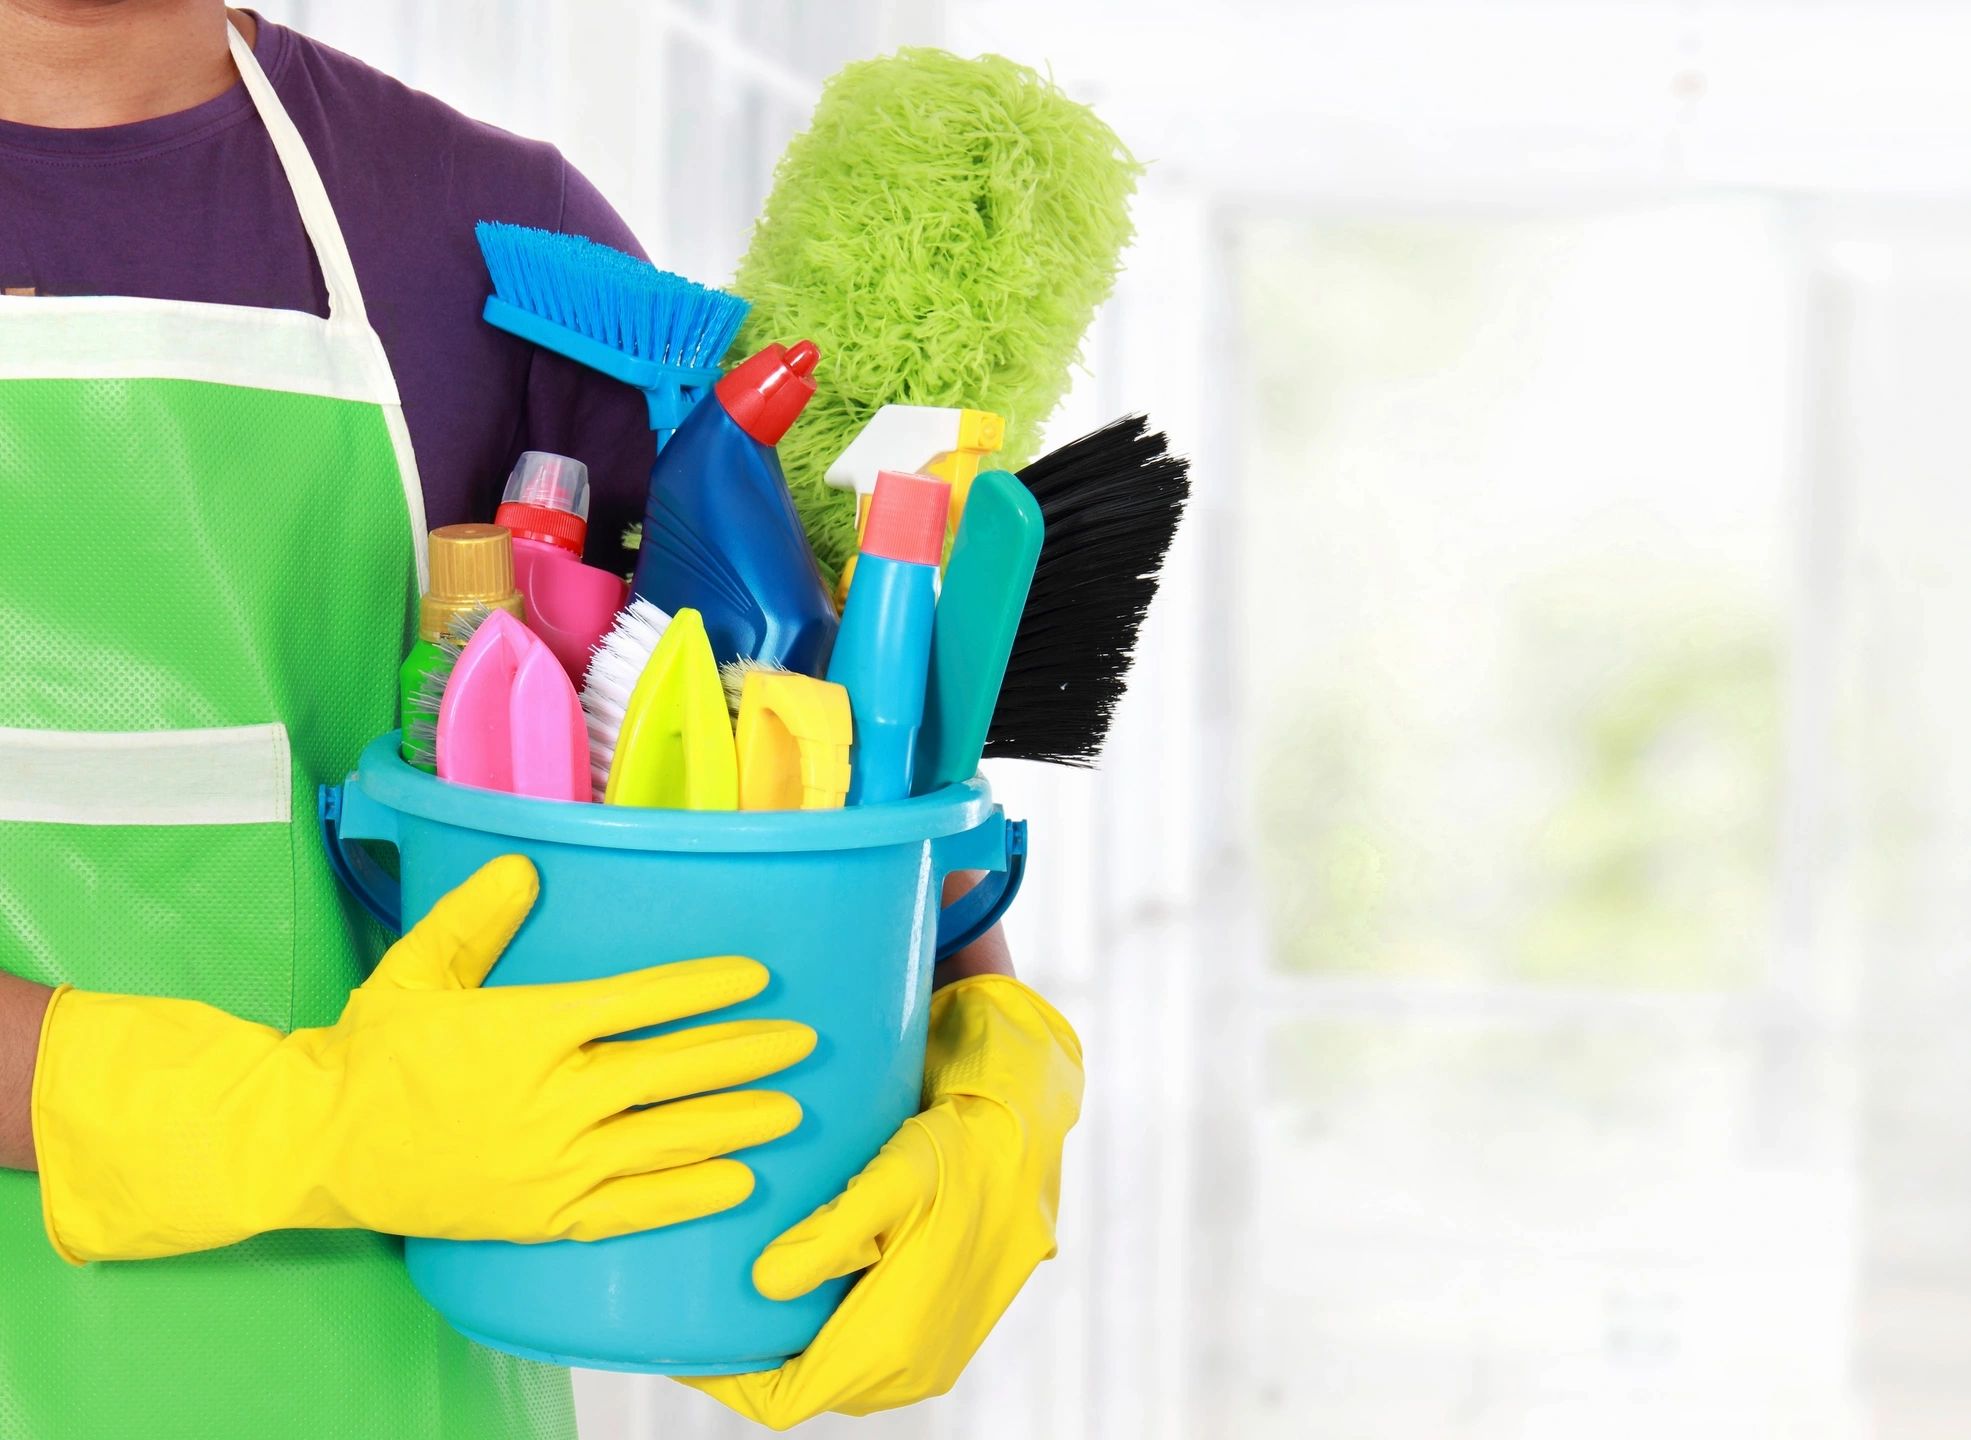
Have you ever done a deep Spring Cleaning? If so, do that times three and you’ll be about ready to open your home! Seriously, you need to give attention to items that may not have been cleaned in years, if ever!
I’m a big believer in task lists. I love the ability to see what lies ahead, but also gauge my progress as I tic things off the list. For now, though, here are the basics.
Start at the top:
- Clean out light fixtures that may hold bugs.
- Clean those bathroom fans!
- Dust all ceiling fans and chandeliers (including the light bulbs); wash glass globes; replace any dead bulbs.
- Dust all ceiling corners and make sure they’re free of cobwebs.
- Clean the uppermost tops of all cabinets, shelves, mirrors, furniture and doorways–dust, then as needed get out your cleaning product and remove any grime or grease. If you’re going to have items displayed on top of cabinets, dust/wash each item before placing it.
Move onto interiors:
Once you have your uppermost surfaces cleaned, move onto the interiors. You may have done this during your decluttering stage, but now is a good opportunity to do one better.
- Wipe out all cabinets and drawers with a damp rag. Do inside cabinet doors, the inner framework, and all shelves. If you have glass door fronts, go ahead and clean the interior of those now, too.
- Add/replace drawer liner paper.
- Replace the contents in an orderly manner (purge again, if you must). I’d suggest making sure the items you put back in place are also clean before reinstalling.
- Check your closet walls. Remove scuffs or repaint. At this point your closets should already be cleaned out, but check again for any extraneous stuff you can remove.
- Dust closet poles and shelves–yes, I’m serious!
- Make sure clothing, shoes, and other belongings are neat and orderly.
Side note: By now you’re probably wondering if this is all worthwhile…it is! Truly, if for no other reason than you’ll have pride in the cleanliness you created, but hopefully because it will eliminate stale odors, dust, and any inclination to focus on your cleaning skills rather than the home itself.
Now let’s get to those appliances! (Everyone’s least-favorite task!)
- Remove grates from inside your oven(s) and if applicable, from your range top. Also remove dishwasher baskets. Set them aside or start pre-soaking them–you’ll have to clean them eventually.
- Clean the inside of your oven, including the glass door; clean inside dishwasher (paying attention to the drain area because food often accumulates here); clean range top. Make sure to clean all seals, too, as they’re a great place for food, mold, or crud
- Wipe down the soap dispenser on your washing machine, wipe around all access points and visible seals; clean your dryer lint trap; remove any interior stuck-on items (you know, when your kids leave stickers on their clothes and they opt to come off during the drying stage–to remain evermore in your dryer); utilize a washer refresher product to ensure freshness.
- Remove all appliance knobs and clean them and the area around/beneath them before replacing.
- Pay attention to the area beneath your appliance doors–you’ll have to work at getting crumbs and crud out of this space.
- Do your best to clean beside and underneath appliances. Remove the lower grate/panel and vacuum what you can or a little flat duster designed for under furniture–it’s a rock star.
- Using an appropriate cleaner, clean the components, i.e. baking racks, silverware basket, etc. Re-install in their appropriate appliance.
- Tackle your refrigerator and freezer! You know the drill…throw out old items, organize and wipe down all surfaces. In stall a fresh deodorizer, filter, and bulb if needed.
- Wipe down all exterior appliance surfaces with an appropriate product and admire your handy work.
But, you’re not done, yet!
Now onto mid-level items:

This is where the bulk of normal cleaning falls.
- Time to wipe down all those cabinet exteriors, interior doors, and believe it or not, you should wipe down or wash your walls, too, especially if you smoke or have children or pets.
- Make sure to clean all door and cabinet knobs, light switches, and handrails.
- If you have glass on doors or cabinets, wash them at this step.
- Dust and wipe down mantels, shelves and furniture surfaces.
- Remove all countertop items and give your counters a good thorough cleaning. Don’t forget to clean underneath the overhanging edges too, they get a lot dirtier than you’d imagine!
- Tackle sinks, tubs, toilets and showers. Clean the drain stops and overflow areas. Stains and evidence of hard water are never attractive. Use products designed to remove rust stains or hard water rings. Make sure your toilet tops are clean–even under and around the connectors.
- Get those shower doors squeaky clean! Pay attention to the corners where scale and gunk can accumulate. (And if you have old or stained caulking, get it taken care of. A shower simply looks dirty if the caulking isn’t fresh.)
- Before replacing countertop items for determine if it is necessary or will be a distraction on showing day. Whatever items are staying on the countertop must be cleaned and shined!
- Curtains should be vacuumed or removed for washing; blinds should be dusted and wiped clean; all window sills need to be free of dirt and bugs; and all windows crystal clear.

While you’ve got the vacuum out, give your furniture a good going over! The remnants of dropped food, animal dander and sweaty teenagers tends to linger without awareness.
You’re ’rounding the bend!
Onto lower level items:
The process thus far as been aimed at moving all the dust and grime to the lowest level and now we rid ourselves of that mess!
- Start by removing floor duct covers (and if possible, I highly recommend you remove inlet wall grates, too). Grab your vacuum hose and get those vents cleaned out as far back as you can reach. Be careful if you’re using an attachment at this step as you may have to find a creative way of retrieving it if it falls off (lesson learned here).
- While you have the grates out, give them all a nice bath. Let them dry thoroughly before reinstalling.
- If you’ve removed wall grates, put them back in before dusting baseboards because inevitably some sheetrock dust will fall during reinstall.
- Pick up area/throw rugs and give them a good washing or at least a shaking out.
- Wipe down all baseboards.
- Dust under all furniture.
- Vacuum and/or sweep all floors.
- Mop floors as appropriate.
- Replace floor grates and area rugs.
Oh, we are so close to being done!!
Next, step outside your back then front door.

- Wash the actual door and any glass enclosure. Look down at the entry sill…give it a scrubbing if it has dirt and grime on it.
- Dust cobwebs from the light fixture(s); wipe down; replace bulbs if necessary.
- Make sure the trim around the door–and the doorbell–are free of grime. Wash or repaint as needed.
- Shake out your welcome mat; sweep surrounding area.
- Now, do the same for the front door. Don’t be afraid to paint it with a fresh coat of paint and add a pop of color to your home!
- Finally…FINALLY…I want you to take a deep breath, then walk through your front door with fresh eyes. Aren’t you proud of what you see before you!?

Congratulations, you are ready to show your home to prospective buyers! Best of luck and may the $$$ flow to you!


