If you spend any time in the countryside, you will undoubtedly notice farms, ranches, estates, and even simple country places have names. Some are very basic, like Sunrise Farm or Oak Hill Ranch, and others gravitate more toward the owner’s names, heritage, or occupation, and some refer to historical events that occurred on/near the property. The name is generally reflective of the grandeur of the place, too.
The naming of one’s homestead historically relates to ownership and also as a way marker in locating a particular home in the community/area. These names can also serve to create enduring impressions and convey a sense of permanence.
Years ago we owned a beautiful 10-acre parcel on top of a hill. The home faced east and we enjoyed watching the sun rise over the river, and in the evenings we watched the sun set over the farm and lake behind us. From the day we bought the property we intended to give it a name–you know, something like River Rise, Hill Top Acres, or Willow Hill (which would have required us to actually plant the willow trees we never got to plant), but we never actually did it.
From there we moved into a subdivision on a 1/3 acre and our simple address sufficed (although I have known people to name their home in a subdivision). However, as we again prepare to move back to the country, we would like to name our property. If you’re wondering why, it is in part because of the ownership claim and in part as homage to the land and surroundings. This simple, non-assuming parcel of land holds so many wonders and joys and we want to acknowledge them.
We’ve narrowed our choices, but have not yet settled upon the one. I thought it would be fun to share how we came up with some of our ideas.
We first–and mostly I mean I–wrote down all sorts of features about and/or visible from our land, as well as the activities/crops/animals we may enjoy while living there: pond, river, oaks, trees, eagles, frogs, ski hill, forest preserve, rural setting, turkeys, woodlands lighting bugs, rabbits, garden, bees, donkeys, chickens, white tail deer, sandhill cranes, finches, robins….you get the idea.
Next, I wrote down names for a house and land: house, home, casa, estate, cottage, manor, abode, roost, acres, and homestead are a few.
The final list contains all kinds of adjectives: crooked, little, giant, quiet, peaceful, tranquil, breezy, sunny, rustic, and on and on.
I then began putting words from all the categories together. I quickly realized a lot of the options–Breezy Acres, Tranquil Waters, and Forest Acres–sound like cemeteries or funeral homes. While this is hopefully our last home, we aren’t ready to say it’s our final resting place! Some others–River Estate, White Tail Manor, and Eagle Woodlands, all sound too pompous. Some roll off the tongue, some are too cumbersome; some create an immediate visual, while some leave you wondering what? I tend to like alliterative names, therefore I’m leaning heavily toward one on our short list. I’ll update you once we’ve made a decision!
As you see, it’s a quick, simple, and fun process coming up with just the right name for a home. (And a lot less stressful than naming a child for life!)
Adios, from Crane Cottage…or maybe Crooked Oaks…or?
I’m a huge fan of HGTV. My favorite shows are more about rehab than buying/selling, but I watch those too and those are what I’m on my soapbox about today.
I cannot count the number of times I’ve cringed when a potential home buyer starts with their I want list, because the majority of the items are so superficial and inconsequential! Oddly, it seems the younger the buyer and the tighter the budget, the longer and more inane the I want list.
As a home buyer, there are definitely pros to watching such shows–they give a general overview of the process, they often indicate the true reality of homes in a price range, and they occasionally give home buyers a new perspective on what is truly important when purchasing a house–and it’s not white cabinets and shiny appliances!
Seriously. So many times a home in a gorgeous setting, safe neighborhood, and good schools is passed by because the cabinets are too dark or the bathrooms are dated. Cosmetics, people, cosmetics! Somewhere along the line the adage of “location, location, location” has slipped down the list of importance, only to be replaced by ship-lap, hardwood floors, and open-concept living. With all this HGTVing of buyers, it’s an interesting time to be buying or selling a home.
When we purchased our current home, our agent understood location, commute and schools were our priorities. However, when we began our next home search a couple years ago, the agent wanted to show us everything with 2+ acres. It didn’t seem to matter the commute was 70 minutes each way, the house was too remote, the price was severely over budget or the home was nothing like we wanted. She so easily overlooked every item we wanted/needed, except the size of the acreage. Maybe the game has changed so much that even an agent’s role is not what it was–just make a sale and move onto the next client?
Even now, while selling our home, we got feedback from one agent stating, “I don’t like the country decor.” (And for the record, it’s not even country, it is light farmhouse/French farmhouse.)
Well I’ll be! Last I checked it was an agent’s responsibility to help a potential buyer see themselves in the home–to guide them past personal decor and belongings, instead of highlighting them as they’re permanent fixtures to be worked around. People, you’re NOT buying another person’s things, so use a little imagination in seeing it all gone. Yet, you know, it happens all the time on HGTV. I want to reach out and slap someone when I hear, “I don’t like the sofa” or “That bedspread is awful!” So what!? Why does HGTV even air such ignorant comments? In my opinion, all it accomplishes is setting up potential home buyers for failure when they think they need to focus on decor versus location, condition, price, commute, schools and the home’s layout.
At the other extreme are those who’ve never done more than tighten a bathroom faucet, yet they insist on buying a dilapidated fixer upper with the intention of DIYing and flipping it because they’ve seen it done on HGTV and there is a lot of money to be made. Yeah, about that…keep in mind the true flippers–Bargain Mansions, Flip or Flop (take a clue from the name!), Good Bones, and Home Town–have done this a long time and have subcontractors and a whole host of help behind the scenes. It’s never as easy as “we will just tear down this wall, gut the kitchen, and viola! it’ll be worth three times what we paid!”
I know realty agents/brokers all have ongoing education…I truly hope some of that education is on how to overcome the HGTVing of today’s home buyers and to focus on providing the service and direction that is necessary to help home buyers make the best decision for their home purchase. Pointing out important items, like safety of community, rating of schools, lifestyle, commute, and a home that works for them now and into the future, should not being cast aside in lieu of pointing out a shiny new light fixture, trendy countertops or other items that come and go out of style.
I’m also a fan of Bravo’s Million Dollar Listing shows and at the price point of those homes, I say you should have and get everything on your I want list.
However, the average home buyer isn’t at that level and needs a good agent to help them understand life is not an HGTV show. Focus must shift to needs and the wants can come later. No house is perfect, but that doesn’t mean it isn’t the perfect HOME.
We recently purchased an older travel trailer and I proclaimed, “I can fix it up for $500 or less!” Mike countered with “How about $300?” I had no intention on budging off of $500, but was intrigued if I could do it for $300.
The trailer has what I believe may be the original carpet, but the vinyl had recently been replaced. I created a mid-mod plan, which included changing out the new vinyl tiles and the old carpet. Then I went shopping. The least I was going spend on carpet–if I got a remnant to work–was $150 and the new vinyl flooring would run another $100. My $300 budget? Nope, not happening, but that’s not what this post is about. I bagged the idea of replacing the flooring and decided instead to resort to an old trick I have…clean and dye the carpet.
Years and years ago, my father-in-law had a company come out and dye some rental property carpets. Of course, they had huge carpet sprayers and cleaners in a van, but I took note of the process and when I had some carpet in need of replacing I decided to try my hand at dying with common RIT Dye…I had nothing to lose since the carpet was done-for anyway.
The process I used then, and twice since then, is quite simple. It may not be the professional way, but it works. If you’re in need of a carpet refresh, this may be the trick for you. HOWEVER, please do not attempt this on a large scale without first testing it! I am not, in absolutely ANY WAY responsible, for the results you achieve or damage you cause. Just saying.
Now here’s the thing, there is no magic formula for mixing the liquid dye for this application, but here is my method: 8 oz of liquid dye to 8 cups of water (hot is preferable, but I’ve found cold works just as well). I also cannot tell you the exact coverage you should expect. I know, lame. But…I just finished dyeing 70sf and used four 8oz bottles (mixed two colors) which allowed me to dye everything then go back over with a light coat. So, a rough formulation is 2 gallons (plus the 32oz/4 bottles of dye) covered 70sf, so you can expect 2 bottles of dye plus 1 gallon of water to cover approximately 35sf.
Note: You always want to go darker than the color you currently have and if you test the above mixture and find it too dark, simply add water; if too light, add more (or darker) dye.
Before starting, you’ll need the following supplies:
Carpet cleaner machine and carpet cleaning solution
Spray bottle or pump-up sprayer
RIT dye in your chosen color
Rubber gloves
Rags/towels
Begin by cleaning your carpet. This step is important because it helps minimize stains and by wetting the carpet, it helps the fibers absorb the dye.
Note: RIT now makes a dye for synthetics. I have not yet tried this and I would have loved to, but it wasn’t available in the color I chose. As most carpets are synthetic–and if you have wool, I wouldn’t dare attempt dying yourself–this may work even better!
2. Prep your space by protecting the baseboards around the perimeter. I found running tape along the bottom where the baseboard meets the carpet is generally enough, but if you prefer more you can use plastic wrap taped at the top and tucked in under the baseboard. (I wasn’t worried about this step in this particular circumstance, so I skipped it).
Note: Use rubber/latex gloves! (And wear shoes). The dye is pretty intense and hard to get off your skin and will transfer as long as the carpet remains damp!
3. When you finish prepping, it’s time to mix the dye as above. Once mixed, you’ll want to put it in a spray applicator. I’ve used a pump-up sprayer for large areas like our entire house, but for the trailer I used a spray bottle (although it had a wonky spray pattern that drove me nuts and if I hadn’t been planning to remove and replace the wallpaper too, it would have been a nightmare with the overspray. While it cleaned up nicely off vinyl wallpaper, I’d hate to imagine this on a painted wall).
4. Working while your carpet is still damp, begin applying the dye by spraying along the perimeter of the area then work inward. For best blending of one work area into another, it’s better to do a random edge than a straight edge so you don’t end up with heavy overlapping lines. Sometimes I’m able to get really good coverage with the sprayer, but most times I go back over the wet area with a gloved hand and really work it into the carpet fibers.
Note: Again, through trial and error you will figure out the right amount of spray. You’ll want your carpet thoroughly wet with dye, but over saturating could lead to, worst-case scenario, the dye seeping through the carpet and ending up on a ceiling below if you’re dyeing spaces above!
5. After you’ve finished the area, let it sit for about 15-20 minutes. This is a good time to begin clean-up. Be careful, dye will get on everything!
6. Using your steam cleaner, go over the carpet using ONLY the extraction–do not clean and/or add additional water. You want to draw out as much dye and moisture as you can.
Note: This is a messy business! I own my steam cleaner and would caution against using a rented or borrowed machine to do this, as the dye may stain the machine and if not cleaned properly it will transfer dye to the next surface cleaned!
7. If you see any areas that are obviously lighter than others, now is the time to do a light application to those areas. (Repeat the wait/extract process).
8. You are now done! Allow the carpet to dry thoroughly before use. Directing fans to blow across the carpet will help speed up the process.
Note: If your space is very humid, the dye can continue to leech onto your skin or any fabrics placed on it until completely dried.
9. Clean your steam cleaner to ensure no transfer occurs with next use.
Allow your dye to settle into the carpet fibers for a couple weeks. At that point you’ll either discover you need to do another application (perhaps not as heavily applied) or that you’re quite pleased with the results and are calling it a success. Great, but you’re not done, yet…
I highly suggest pulling your steam cleaner out and cleaning your carpets with just water. Again, be judicious with the amount of water you apply and do not over-saturate them. You will pull off some color, and that’s a good thing…it will help reduce the amount of dye transfer in the future.
I’ve dyed large areas of carpet and even when the actual carpet looked worn down, the dye was still looking good. I believe the last large-scale dye job lasted a good five years!
For now, the trailer carpets are refreshed and ready to go–maybe not another 24 years, but until I get a bump in my budget and/or we want to tackle replacement. For now, I have a few more items to do before I burn through my budget…I’ll share those, too!
Let me know if you attempt carpet dyeing or have any questions…I’ll do my best to answer them.
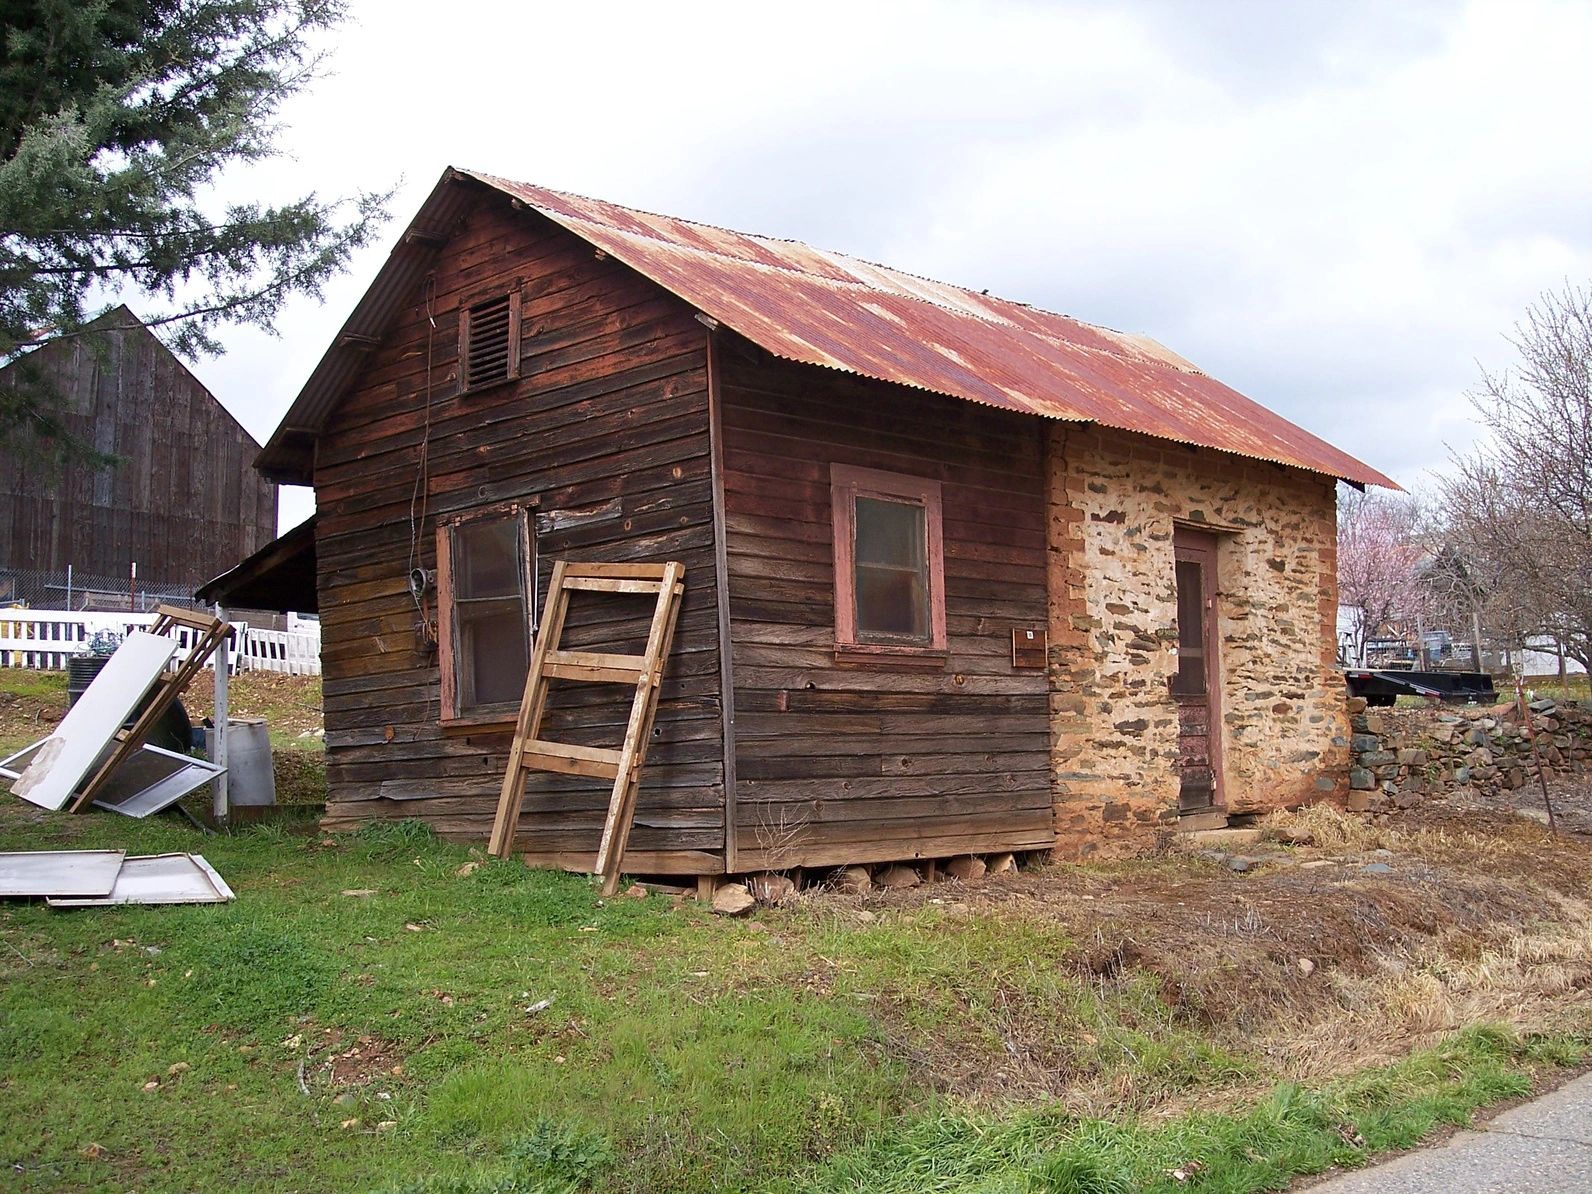
For years one of the primary objections Mike had to building again was that he absolutely didn’t want to have to move twice. Unfortunately, in some sort of fashion, we will be doing exactly that. However, when considering the option of on-site storage versus off-site storage or moving into a rental, on-site storage doesn’t seem to count as a move, even though it will have to be placed into a storage container on our land and taken from it into our permanent home! This, along with a couple other benefits, has us leaning more toward purchasing a shipping container than renting one or off-site storage space.
Your situation will probably be different than ours, but most of us face the need for temporary storage at some point in our lives. I’ll share the basics of my process to determine what is right for us, and you’ll be able to apply the concept to your own needs.
First is knowing why you need storage.
Do you simply have too much stuff you can’t stand to part with?
Do you have a child or long-term guest with belongings that need to be stored?
Are you selling and want to de-clutter while your home is on the market?
Will you be facing a gap between residences?
For us it was three of the four.
Next, determine what you want to put in storage. And, keep in mind, this can be done in phases. For instance, these are our storage needs, listed by priority:
To move farm equipment (yes, we had a tractor, mower, and other implements), miscellaneous benches and yard decor from our back yard.
To relocate some of our woodpile.
To have tools and equipment on-site.
To reduce clutter.
To vacate our home for new owner.
As we own our land, we believed we would simply go ahead and build a workshop/barn and that would take care of where to put things. However, that is not the case–we cannot begin building a barn until we’ve gotten a permit and started on the primary residential structure.
We returned to the list and assessed what is needed for each stage. The first stage was primarily items that have been outdoors, so most of those would be ok left outdoors. However, we needed to have some basic yard and tractor tools on hand. We considered several options, but managed to find an 8×10 metal shed for a steal!
It was trailered–intact–to the property, drug into place with the tractor, and that solved the problem of where to store tools. We are also able to keep chairs, picnic supplies, and various other items in there.
As for reducing clutter, this is an ongoing, multi-stepped task and different for everyone. We have stuff. A lot of stuff. We aren’t hoarders, but left unchecked, our stuff would overwhelm and we would appear to have a serious problem. (It’s just a little problem, really.)
Since there are so many books and websites dedicated to the art of decluttering, I’ll leave you to your own devices on that step.
Once you’ve decluttered and sorted things into the requisite keep, donate/sell and trash piles, dispense with the trash and donate/sell piles.
That leaves the keep piles. Now, I would wholeheartedly suggest you repeat the entire process with your keep piles…seriously! On second look you may realize you don’t truly want or need every item.
After you have culled your stuff, can you now store it away in your current location, in an organized manner? If so, you’ve just solved your storage needs! If not, consider the following to help figure out your storage needs:
Do you need it readily accessible more than once a month? If so, it probably should stay somewhere in your home or on your property.
Do you plan on keeping it for the foreseeable future?
Will it fit into storage tote bins or lockers?
Is it seasonal and unnecessary for up to 3 months? If so, off-site won’t be too inconvenient.
Is it of value and need climate controlled and/or secured storage?
Is it large, i.e. cars, RV, boat and best stored off-site?
(I typed this, then went to the basement to snap a couple photos…I had to delete this line: “At this point, we have our stuff under control and the next step is to sell our home.” We don’t. Our entire basement is nothing but a huge storage space!)
For us, the use of 27 gallon tote bins has been a solution to offer both immediate and long term solution for the majority of our smaller items. We have packed 50 of them so far! Everything from photo albums, to cookie cutters, to family china and seasonal decor is neatly stored and the totes stacked in our basement. We have also utilized lockers, shelves, old beer boxes, and other tote bins. However, it is my (now quite strong) opinion we need to rent an off-site unit and temporarily relocate stuff to show the true potential of the basement now rather than once we sell!
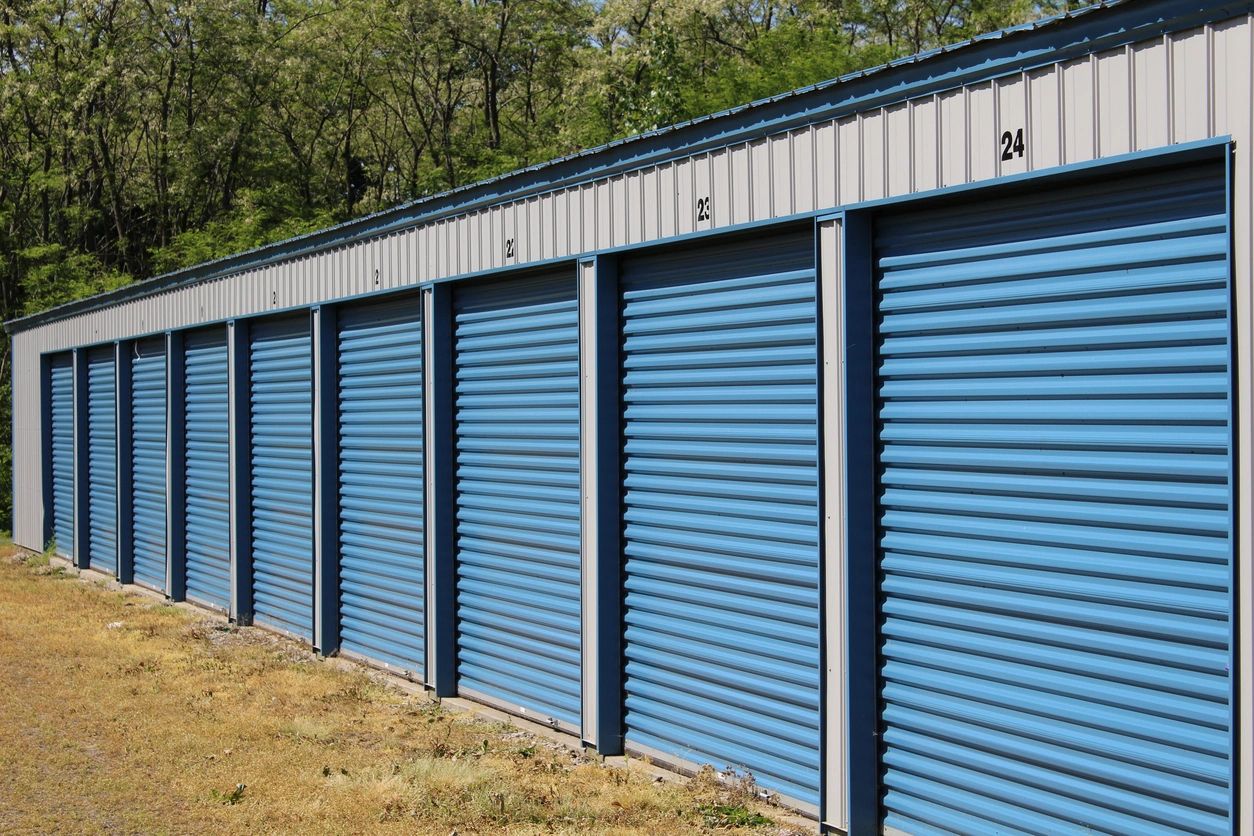
Assuming I will not win the battle to move things now, when we sell in relation to when our new home is built, we have two plans in place: If the time between moving and settling into our new home is less than four months, we will rent a large (10’x40′) offsite storage unit; if it is 4-6 months we will get an on-site 40′ shipping container; and if it is greater than 6 months (which means we’d have to sell right away and/or face a major building delay) we will purchase a 40′ shipping container and repurpose it later. Perhaps a guest house, or a man-cave? Maybe an office/studio or mini-donkey barn? Or how about a stunning pool or waterside oasis like this?
There are pros and cons to each and every solution and each situation differs. If you know you need an outside storage solution, I’d suggest first utilizing the online calculators most companies provide for determining your needs, then once you’ve decided on what size container(s) you need, create a spreadsheet, or basic list, to determine overall costs…in the end, is that stuff worth what it cost to store it? Only you can decide.
Hi, are you getting ready to sell your house? If so, you’ll find some invaluable tips here for giving it a good spit shine! This post will focus more on the where and what rather than the how–I feel another post coming on for “cleaning tips & tricks”.
If you haven’t read and/or taken the steps in my previous post “Five Things To Do Before Listing Your House“, please go back and read it and do the steps in that post before tackling your cleaning.
In the above-mentioned post I alluded to some of the sights (oh, let me just call it what it was–filth!) we saw on our house hunting expeditions. They are burned into my memory and some of them are from our most recent house hunt over the past couple years, but some are from 21 years ago! Are you grasping the importance of cleaning your house before allowing strangers to traipse through?
Story time: We toured one home and the couple had done a good job removing personal identifiers. It was a large, newer home and on the surface looked pretty clean. However, when we got to the master bathroom the floor was covered in dark hair. There was so much of it we all assumed it must have been dog hair. Imagine our surprise (and disgust) when upon our realtor’s suggestion they “clean up the dog hair in the bathroom” we learned they didn’t even own a dog! No way. If that’s the filth we saw, we had to wonder what else we weren’t seeing.
Anyway, now that I have made my point, where do you begin?
Have you ever done a deep Spring Cleaning? If so, do that times three and you’ll be about ready to open your home! Seriously, you need to give attention to items that may not have been cleaned in years, if ever!
I’m a big believer in task lists. I love the ability to see what lies ahead, but also gauge my progress as I tic things off the list. For now, though, here are the basics.
Start at the top:
Clean out light fixtures that may hold bugs.
Clean those bathroom fans!
Dust all ceiling fans and chandeliers (including the light bulbs); wash glass globes; replace any dead bulbs.
Dust all ceiling corners and make sure they’re free of cobwebs.
Clean the uppermost tops of all cabinets, shelves, mirrors, furniture and doorways–dust, then as needed get out your cleaning product and remove any grime or grease. If you’re going to have items displayed on top of cabinets, dust/wash each item before placing it.
Move onto interiors:
Once you have your uppermost surfaces cleaned, move onto the interiors. You may have done this during your decluttering stage, but now is a good opportunity to do one better.
Wipe out all cabinets and drawers with a damp rag. Do inside cabinet doors, the inner framework, and all shelves. If you have glass door fronts, go ahead and clean the interior of those now, too.
Add/replace drawer liner paper.
Replace the contents in an orderly manner (purge again, if you must). I’d suggest making sure the items you put back in place are also clean before reinstalling.
Check your closet walls. Remove scuffs or repaint. At this point your closets should already be cleaned out, but check again for any extraneous stuff you can remove.
Dust closet poles and shelves–yes, I’m serious!
Make sure clothing, shoes, and other belongings are neat and orderly.
Side note: By now you’re probably wondering if this is all worthwhile…it is! Truly, if for no other reason than you’ll have pride in the cleanliness you created, but hopefully because it will eliminate stale odors, dust, and any inclination to focus on your cleaning skills rather than the home itself.
Now let’s get to those appliances! (Everyone’s least-favorite task!)
Remove grates from inside your oven(s) and if applicable, from your range top. Also remove dishwasher baskets. Set them aside or start pre-soaking them–you’ll have to clean them eventually.
Clean the inside of your oven, including the glass door; clean inside dishwasher (paying attention to the drain area because food often accumulates here); clean range top. Make sure to clean all seals, too, as they’re a great place for food, mold, or crud
Wipe down the soap dispenser on your washing machine, wipe around all access points and visible seals; clean your dryer lint trap; remove any interior stuck-on items (you know, when your kids leave stickers on their clothes and they opt to come off during the drying stage–to remain evermore in your dryer); utilize a washer refresher product to ensure freshness.
Remove all appliance knobs and clean them and the area around/beneath them before replacing.
Pay attention to the area beneath your appliance doors–you’ll have to work at getting crumbs and crud out of this space.
Do your best to clean beside and underneath appliances. Remove the lower grate/panel and vacuum what you can or a little flat duster designed for under furniture–it’s a rock star.
Using an appropriate cleaner, clean the components, i.e. baking racks, silverware basket, etc. Re-install in their appropriate appliance.
Tackle your refrigerator and freezer! You know the drill…throw out old items, organize and wipe down all surfaces. In stall a fresh deodorizer, filter, and bulb if needed.
Wipe down all exterior appliance surfaces with an appropriate product and admire your handy work.
But, you’re not done, yet!
Now onto mid-level items:
This is where the bulk of normal cleaning falls.
Time to wipe down all those cabinet exteriors, interior doors, and believe it or not, you should wipe down or wash your walls, too, especially if you smoke or have children or pets.
Make sure to clean all door and cabinet knobs, light switches, and handrails.
If you have glass on doors or cabinets, wash them at this step.
Dust and wipe down mantels, shelves and furniture surfaces.
Remove all countertop items and give your counters a good thorough cleaning. Don’t forget to clean underneath the overhanging edges too, they get a lot dirtier than you’d imagine!
Tackle sinks, tubs, toilets and showers. Clean the drain stops and overflow areas. Stains and evidence of hard water are never attractive. Use products designed to remove rust stains or hard water rings. Make sure your toilet tops are clean–even under and around the connectors.
Get those shower doors squeaky clean! Pay attention to the corners where scale and gunk can accumulate. (And if you have old or stained caulking, get it taken care of. A shower simply looks dirty if the caulking isn’t fresh.)
Before replacing countertop items for determine if it is necessary or will be a distraction on showing day. Whatever items are staying on the countertop must be cleaned and shined!
Curtains should be vacuumed or removed for washing; blinds should be dusted and wiped clean; all window sills need to be free of dirt and bugs; and all windows crystal clear.
While you’ve got the vacuum out, give your furniture a good going over! The remnants of dropped food, animal dander and sweaty teenagers tends to linger without awareness.
You’re ’rounding the bend!
Onto lower level items:
The process thus far as been aimed at moving all the dust and grime to the lowest level and now we rid ourselves of that mess!
Start by removing floor duct covers (and if possible, I highly recommend you remove inlet wall grates, too). Grab your vacuum hose and get those vents cleaned out as far back as you can reach. Be careful if you’re using an attachment at this step as you may have to find a creative way of retrieving it if it falls off (lesson learned here).
While you have the grates out, give them all a nice bath. Let them dry thoroughly before reinstalling.
If you’ve removed wall grates, put them back in before dusting baseboards because inevitably some sheetrock dust will fall during reinstall.
Pick up area/throw rugs and give them a good washing or at least a shaking out.
Wipe down all baseboards.
Dust under all furniture.
Vacuum and/or sweep all floors.
Mop floors as appropriate.
Replace floor grates and area rugs.
Oh, we are so close to being done!!
Next, step outside your back then front door.
Wash the actual door and any glass enclosure. Look down at the entry sill…give it a scrubbing if it has dirt and grime on it.
Dust cobwebs from the light fixture(s); wipe down; replace bulbs if necessary.
Make sure the trim around the door–and the doorbell–are free of grime. Wash or repaint as needed.
Shake out your welcome mat; sweep surrounding area.
Now, do the same for the front door. Don’t be afraid to paint it with a fresh coat of paint and add a pop of color to your home!
Finally…FINALLY…I want you to take a deep breath, then walk through your front door with fresh eyes. Aren’t you proud of what you see before you!?
Congratulations, you are ready to show your home to prospective buyers! Best of luck and may the $$$ flow to you!
Selling a home is both an exciting and a stressful time. Before or at the time of listing your home for sale, you will hear–usually unsolicited from everyone you encounter–what steps to take to ready your home for resale.
With my years of interior decorating and staging services, I can help you focus on the most important aspects. There is no one-size-fits-all approach to preparing a property, because each property will have its problems and appeal, and each locale will have different expectations. However, there are some basics, so let’s cut to the chase and talk about those!
First and foremost, you want your home’s condition to be in the best possible shape. Understandably, sometimes big-ticket item repair or replacement is needed, but unrealistic because of budgetary constraints. If that is the situation you find yourself in, admit the home needs attention and set your price accordingly. If you have allowed the structure or mechanical aspects of your home to deteriorate, and you have the budget to fix them, then attend to them and know you may not get 100% return on dollars invested, but you will eliminate some red flags for buyers.
Tip: Snap photos of every area of your home, then look at them with an outsider’s perspective. Notice what areas/items need attention.
Make sure you have curb-appeal appropriate for your locale. The exterior should appear fresh and well maintained. If nothing else, make sure your front door is in good shape and inviting–try a pop of color! If you have landscaping, freshen it up, plant some fresh blooming plants, and create a sense of vibrancy for the home. If you have nothing more than a front stoop, you can still add color with potted plants or baskets. If you’re lucky enough to have a front porch, maximize its appeal by creating an inviting lounging space. Don’t forget a cheery welcome mat, too.
When prospective buyers enter your front door, you want them to be embraced by warmth, space, light, and a sense of welcoming. If you have a coat rack full of your own things, move them to bedroom closets. If you have shoes everywhere, put them away. If you have room for a little bench or table, set it up so buyers can see themselves or guests walking in the door and having a place for their things. And, this is so important– you need to come in and out of your own door a few times and/or enlist the help of friends…what do you smell when you first walk in the door? We tend to become immune to the smells of our home and may not realize others are unpleasantly bombarded with the smells of our daily life. Don’t overdo the air freshener, but a subtle cinnamon goes a long way to overcoming odor and also creating a sense of home.
As you progress through your home you want to see it from an outsider’s eyes. I did faux finishing for clients for many years and my house was a sales tool and became a canvas of faux. Faux is now pretty much limited in its use and not everyone is a fan. I also adored the bright red-orange of our guest room, but to others it was jarring. It was incredibly hard for me to admit, but it was time to neutralize decor. Not only does this mean repainting, I also put away 75% of my personal items and you’ll need to do the same. I now have a neutral space, a fresh canvas for someone new, and have a better chance at getting top dollar for our home. Remember this is what you’re going for, too. It is hard stepping back and seeing the space you’ve created revert to neutrality, but it’s a necessity.
As you further neutralize your decor–putting away your personal items–you’ll also start the process of decluttering. Sure, my collection of animal head towel racks made ME smile, but those, along with the farm animal art created a really cluttered feel to the kitchen.
You’ll notice with the elimination of those, along with lighter, more contemporary fabrics, how this space seems larger and more updated. If I were staging this for sale, the stained glass would come down, the rug picked up, the plant and other counter items would be removed, and a single floral arrangement would be placed on the table to create some neutral vibrancy.
There are a bevy of little tricks, my friends!
Onto more decluttering…
One thing we love about our home is that just about every piece of furniture, every collectible, and even our artwork has a story. That’s important to US. What’s important to buyer’s is the SPACE. Probably one of the hardest tasks is this depersonalization and decluttering, but it is one of the most critical steps in prepping a home to sale. I have had clients nearly in tears when I mentioned removing some favorite pieces, but when they saw the effects they got it and were thankful for my eye. When I had to do it myself, I understood the emotional attachment. Just keep this in mind: You’re making short-term decisions designed to move you forward.
Decluttering falls into a couple categories:
Garage/basement/storage areas–you want them to appear large, clean and usable for their designated purpose. Utilize stackable tote bins when possible as they contain the clutter, but also make for easier moving.
Closets/cabinets–every buyer wants places to store their own clutter, so remove as much of yours as you can to showcase the potential in closets and cabinets. Whenever possible, remove all clothes/items from a closet. If that’s not possible, be sure to pack away all out-of-season items and create as much space as you can. For entryway closets, only the bare minimum should remain–you need one coat or jacket at a time, so put the others away.
Shelves/open spaces–this is where we all want to display our photos, our collections, and the things that make our home our home. Again, there is nothing wrong with showcasing a few items to highlight the space, but no personal or family photos, don’t leave your (perhaps odd to others) collections out. Create little vignettes–odd numbered items are more pleasing to the eye.
General living spaces–There is a huge difference between living in a home and showing a home for sale and nowhere is it as obvious as in the furnishings. They are physically and visually the largest space thieves. I encourage you to go room by room and eliminate anything not serving a specific purpose. Sometimes you’ll even need to eliminate items that do have a purpose, but can temporarily be lived without or exchanged for something else in order to create more flow. In our day-to-day life we have an upholstered ottoman on wheels. The cat and dog love to lay on it, we use it to toss our throw blanket across, and it’s home to my iPad, books and magazines. When we list our home that’ll be moved to the basement and in its place I will put a mercury glass-topped table because with its open design and light-reflecting surface it will create an illusion of more space. It will be a pain, but no pain, no gain!
As you approach each area take time to create piles: a pile to keep and use; a pile to keep and store away; a pile to donate; and a pile to throw out. Be realistic! If you’re holding onto items that you truly do not need, use, or love, they need to go. When you think you’re done, grab your camera and snap a few new photos and look at them critically. How are things looking to the outsider? Do you need to have another go at it?
The final step in prepping your house to list is to clean it! I’m not exaggerating when I tell you some of the filth we saw while house hunting had me reaching for sani-wipes and wishing I had a mask! Listen, I do not care how you live, that’s your business. My business is helping you get your home ready to fetch top price and if you ignore every single other step, do not ignore this one. If you aren’t able to clean yourself, get help through family, friends, or hire a cleaning service.
In fact, this cleaning step is so important, I think it deserves a blog post of its own, so I’m going to say no more about that for now.
Armed with this list of top items to tend to, you can now get started. I would suggest you create a master list. Do not be alarmed if your list is several pages long! We work on our home constantly, yet I have a three page typed list of tasks to do before listing. I went room by room and listed each thing needing my attention. It can be overwhelming, but very satisfying when you start crossing things off!
Hint: Now that you’re ready to list, photos will be taken for your listing. While I encourage seasonal decor/flowers, I caution their use until after your photo session. Your home may sell right away, but it may also be on the market through several seasons. Nothing says “stale listing” like seeing photos with out-of-season decor.
Grab your notebook, pen and camera and get started. Preparing your home to show in all its glory takes effort, but that effort will pay dividends!